概述
- 轮播图可以用UIScrollView或UICollectionView来实现。
- 用UIScrollView实现轮播图的思路是:
给图片数组的第一个元素(下标0)添加最后一张图片,之后再往末尾添加第一张图片,这样数组就增加了2张图片,第一个元素和倒数第二个元素是最后一张图片,最后一个元素和第二个元素是第一张图片。
根据图片数组的个数创建UIImageView个数,每个UIImageView占据屏幕宽度。首次展示图片时,scrollView定位到(contentOffset)数组的第二个元素,展示第一张图片内容。当滚动到最后一个元素时,让scrollView定位到第二个元素。当滚动到第一个元素时,让scrollView定位到倒数第二个元素。
这种实现方式的特点:有多少张图片就要创建多少个UIImageView控件。
- 用UICollectionView实现轮播图的思路是:
处理图片数组的方式和UIScrollView相同,都是在图片数组的前和后各加入一张图片。然后自定义一个view,UICollectionView是该view的子控件,占满该view的bounds,UICollectionViewCell也占满该view的bounds,UICollectionViewCell上面添加UIImageView。
首次展示图片时,collectionView定位到数组的第二个元素,展示第一张图片内容。当滚动到最后一个元素时,让collectionView定位到第二个元素。当滚动到第一个元素时,让collectionView定位到倒数第二个元素。
这种实现方式的特点:无论多少图片,最多只创建3个cell,省内存。当轮播图只有一张图片时,cell只创建一个。当轮播图两张及两张以上时,cell创建3个,图片在这3个cell之间复用。
- 无论是用UIScrollView还是用UICollectionView方式实现轮播,在横向滚动图片时,contentOffSet.x都在以屏幕宽度的大小改变,利用这一特征,当图片滚动到控件的左右边界时,调整contentOffset就可以形成循环滚动的假象。
具体实现

- 以下先讲用UICollectionView方式实现轮播图。
自定义HRCycleView,添加到控制器上。控制器的主要代码
UITableView *tableView = [[UITableView alloc] initWithFrame:self.view.bounds];
  tableView.separatorStyle = UITableViewCellSeparatorStyleNone;
  [self.view addSubview:tableView];

  UIView *headerView = [[UIView alloc] initWithFrame:CGRectMake(0, 0, self.view.bounds.size.width, 500)];
  tableView.tableHeaderView = headerView;

  //用UICollectionView实现轮播
  HRCycleView *cycleView = [[HRCycleView alloc] initWithFrame:CGRectMake(0, 20, self.view.bounds.size.width, 200)];
  [headerView addSubview:cycleView];

  //下拉刷新
  tableView.mj_header = [MJRefreshNormalHeader headerWithRefreshingBlock:^{

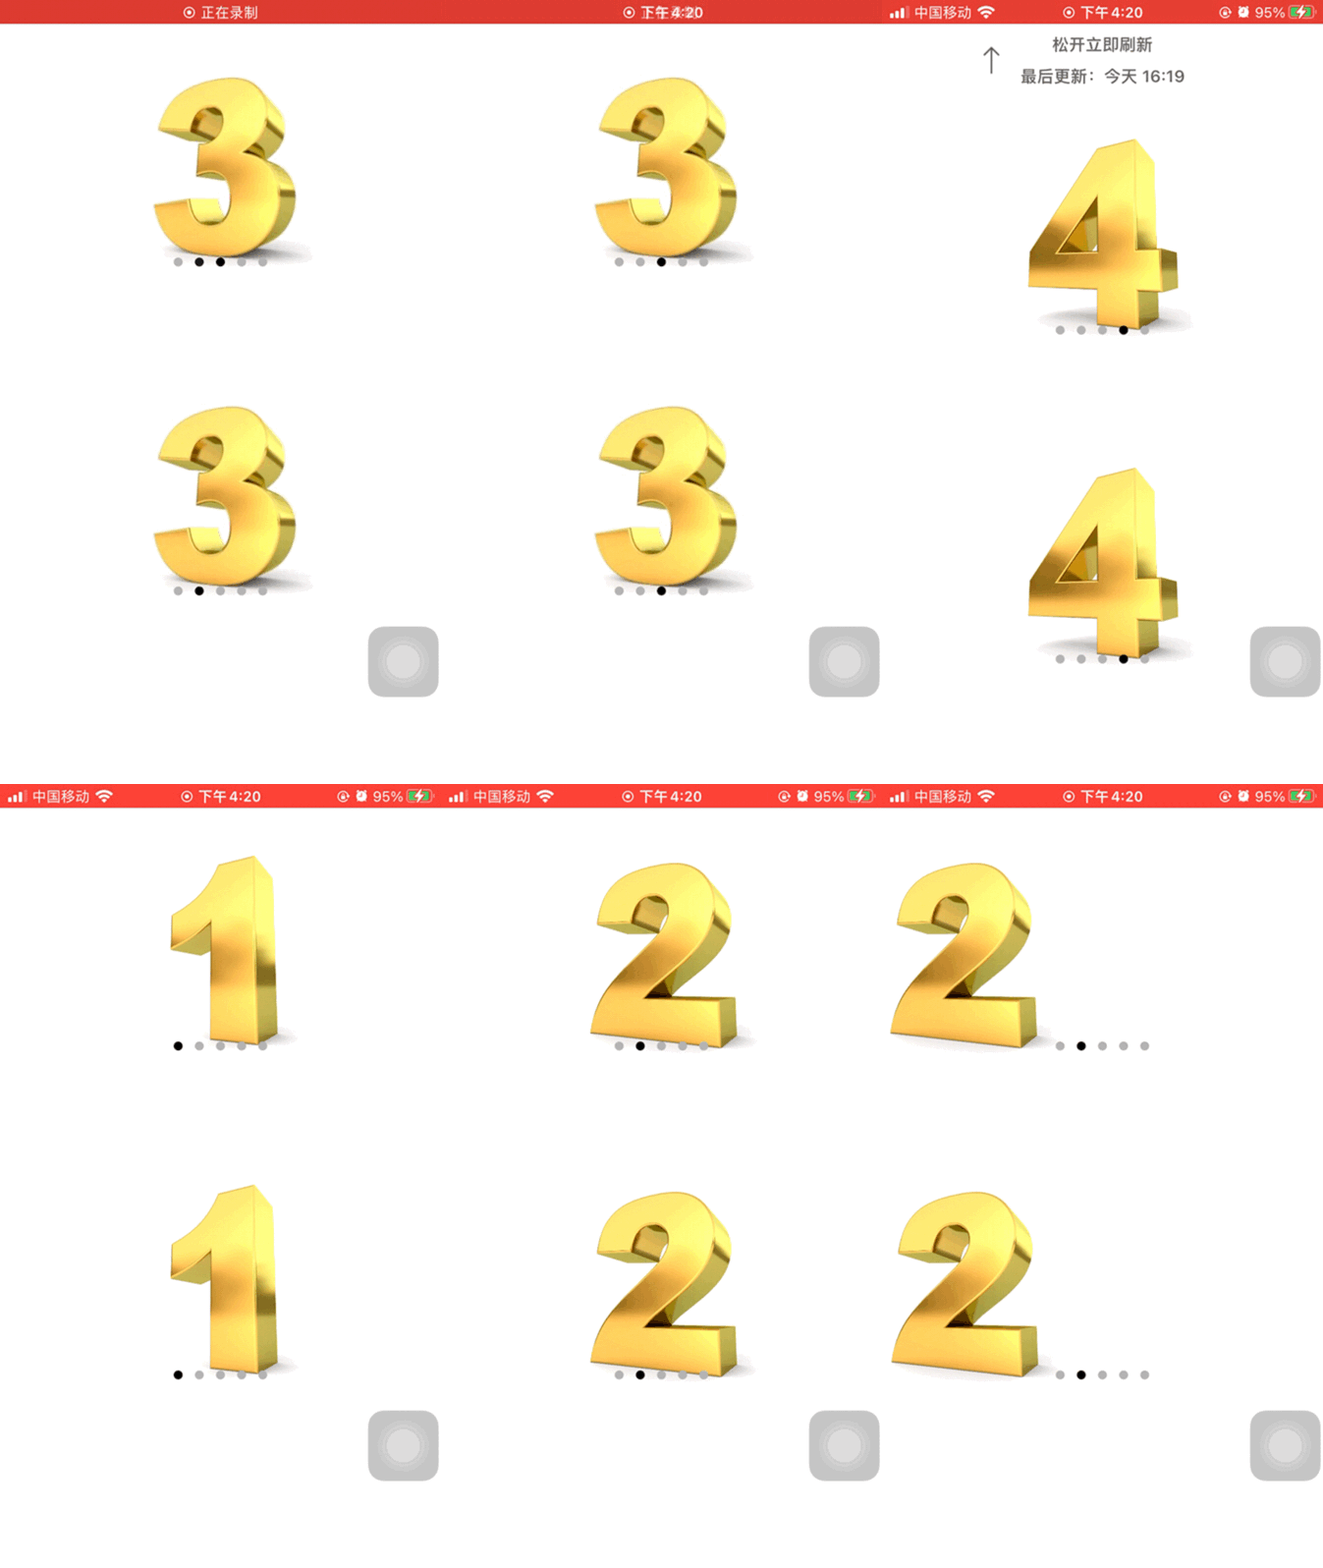
    cycleView.data = @[@"num_1",@"num_2",@"num_3",@"num_4",@"num_5"];
    [tableView.mj_header endRefreshing];
  }];

  [tableView.mj_header beginRefreshing];
HRCycleView事先创建好子控件UICollectionView和UIPageControl,提供data属性用于接收图片数组。
处理循环播放的关键在于collectionView的代理方法-collectionView:didEndDisplayingCell:forItemAtIndexPath:,当cell完全移出屏幕时,该方法会获得回调,可在该方法中及时调整contentOffSet,让用户永远无法感知到UICollectionView的左右边界,具体代码如下:#import "HRCycleView.h"
#import "HRCollectionViewCell.h"
//轮播间隔
static CGFloat ScrollInterval = 3.0f;
@interface HRCycleView ()<UICollectionViewDelegate,UICollectionViewDataSource>
@property (nonatomic, strong) UICollectionView *collectionView;
@property (nonatomic, strong) UIPageControl *pageControl;
@property (nonatomic, strong) NSTimer *timer;
@property (nonatomic, strong) NSMutableArray *dataArray;
@property (nonatomic, strong) NSIndexPath *nextIndexPath;
@end
@implementation HRCycleView
- (instancetype)initWithFrame:(CGRect)frame {
if (self = [super initWithFrame:frame]) {
_autoPage = YES;
[self buildUI];
}
return self;
}
static NSString *cellID = @"HRCollectionViewCell";
- (void)buildUI {
UICollectionViewFlowLayout *layout = [[UICollectionViewFlowLayout alloc] init];
layout.itemSize = CGSizeMake(self.bounds.size.width, self.bounds.size.height);
layout.minimumLineSpacing = 0;
layout.scrollDirection = UICollectionViewScrollDirectionHorizontal;
self.collectionView = [[UICollectionView alloc] initWithFrame:self.bounds collectionViewLayout:layout];
self.collectionView.delegate = self;
self.collectionView.dataSource = self;
self.collectionView.pagingEnabled = true;
self.collectionView.backgroundColor = [UIColor clearColor];
[self.collectionView registerClass:[HRCollectionViewCell class] forCellWithReuseIdentifier:cellID];
self.collectionView.showsHorizontalScrollIndicator = false;
[self addSubview:self.collectionView];
CGFloat controlHeight = 35.0f;
self.pageControl = [[UIPageControl alloc] initWithFrame:CGRectMake(0, self.bounds.size.height - controlHeight, self.bounds.size.width, controlHeight)];
self.pageControl.pageIndicatorTintColor = [UIColor lightGrayColor];
self.pageControl.currentPageIndicatorTintColor = [UIColor blackColor];
[self addSubview:self.pageControl];
}
#pragma mark - CollectionViewDelegate&DataSource
- (NSInteger)collectionView:(UICollectionView *)collectionView numberOfItemsInSection:(NSInteger)section {
return self.dataArray.count;
}
- (UICollectionViewCell *)collectionView:(UICollectionView *)collectionView cellForItemAtIndexPath:(NSIndexPath *)indexPath {
HRCollectionViewCell *cell = [collectionView dequeueReusableCellWithReuseIdentifier:cellID forIndexPath:indexPath];
cell.imageName = self.dataArray[indexPath.row];
NSLog(@"offset.x:%.1f, cell地址:%p", collectionView.contentOffset.x, cell);
return cell;
}
//cell刚移入屏幕时回调,indexPath对应刚移入屏幕的cell下标
-(void)collectionView:(UICollectionView *)collectionView willDisplayCell:(UICollectionViewCell *)cell forItemAtIndexPath:(NSIndexPath *)indexPath{
self.nextIndexPath = indexPath;
}
//cell完全移出屏幕时回调,indexPath对应完全移出屏幕的cell下标
-(void)collectionView:(UICollectionView *)collectionView didEndDisplayingCell:(UICollectionViewCell *)cell forItemAtIndexPath:(NSIndexPath *)indexPath{
if (self.nextIndexPath != indexPath) {
[self adjustScrollLocation];
}
}
#pragma mark - UIScrollViewDelegate
//将要开始拖拽时调用
-(void)scrollViewWillBeginDragging:(UIScrollView *)scrollView{
NSLog(@"scrollViewWillBeginDragging---");
//停止定时器
[self.timer setFireDate:[NSDate distantFuture]];
}
//松开拖拽时调用。如果松开时,scrollView还能惯性滚动,decelerate则是1。如果松开时,scrollView就停止滚动了,decelerate为0
-(void)scrollViewDidEndDragging:(UIScrollView *)scrollView willDecelerate:(BOOL)decelerate{
//间隔3s继续轮播
if (_autoPage) {
self.timer.fireDate = [NSDate dateWithTimeIntervalSinceNow:ScrollInterval];
}
}
//调整循环显示的定位
- (void)adjustScrollLocation {
NSInteger page = self.collectionView.contentOffset.x/self.collectionView.bounds.size.width;
if (page == 0) {//滚动到最左边
self.collectionView.contentOffset = CGPointMake(self.collectionView.bounds.size.width * (self.dataArray.count - 2), 0);
self.pageControl.currentPage = self.dataArray.count-3;
}else if (page == self.dataArray.count - 1){//滚动到最右边
self.collectionView.contentOffset = CGPointMake(self.collectionView.bounds.size.width, 0);
self.pageControl.currentPage = 0;
}else{
self.pageControl.currentPage = page - 1;
}
}
#pragma mark - Setter
//设置数据时在第一个之前和最后一个之后分别插入数据
- (void)setData:(NSArray<NSString *> *)data {
self.dataArray = [NSMutableArray arrayWithArray:data];
if (self.timer) {
[self.timer invalidate];
self.timer = nil;
}
if (data.count > 1) {
[self.dataArray addObject:data.firstObject];
[self.dataArray insertObject:data.lastObject atIndex:0];
[self.collectionView setContentOffset:CGPointMake(self.collectionView.bounds.size.width, 0)];
self.timer = [NSTimer scheduledTimerWithTimeInterval:ScrollInterval target:self selector:@selector(showNext) userInfo:nil repeats:true];
if(_autoPage == NO) {
self.timer.fireDate = [NSDate distantFuture];
}
}
self.pageControl.numberOfPages = data.count<=1 ? 0 : data.count;
self.pageControl.currentPage = 0;
[self.collectionView reloadData];
}
- (void)setAutoPage:(BOOL)autoPage {
_autoPage = autoPage;
NSDate *fireDate = autoPage ? [NSDate dateWithTimeIntervalSinceNow:ScrollInterval] : [NSDate distantFuture];
self.timer.fireDate = fireDate;
}
//自动显示下一个
- (void)showNext {
//手指拖拽是禁止自动轮播
if (self.collectionView.isDragging) {return;}
// CGFloat targetX = self.collectionView.contentOffset.x + self.collectionView.bounds.size.width;
// [self.collectionView setContentOffset:CGPointMake(targetX, 0) animated:true];
int index = self.collectionView.contentOffset.x/self.collectionView.frame.size.width;
[self.collectionView setContentOffset:CGPointMake((index+1)*self.collectionView.bounds.size.width, 0) animated:YES];
}
- (void)dealloc {
[self.timer invalidate];
self.timer = nil;
}
HRCollectionViewCell上面展示UIImageView,代码如下@interface HRCollectionViewCell ()
@property (nonatomic, strong) UIImageView *imageView;
@end
@implementation HRCollectionViewCell
- (instancetype)initWithFrame:(CGRect)frame {
if (self = [super initWithFrame:frame]) {
[self buildUI];
}
return self;
}
- (void)buildUI {
self.imageView = [[UIImageView alloc] initWithFrame:self.bounds];
self.imageView.contentMode = UIViewContentModeScaleAspectFit;
[self.contentView addSubview:self.imageView];
}
-(void)setImageName:(NSString *)imageName{
UIImage *image = [UIImage imageNamed:imageName];
self.imageView.image = image;
}
@end
用UIScrollView实现轮播图的方式与HRCycleView代码很相似,具体实现和完整代码可查看:CycleCollectionView
| 
![]() 移动开发
发布于:2022-02-13 17:44
|
阅读数:366
|
评论:0
移动开发
发布于:2022-02-13 17:44
|
阅读数:366
|
评论:0


 QQ好友和群
 QQ空间
QQ空间